Monday, September 14, 2015

Easy Sweater Refashion

Here is another easy sweater refashion! This sweater was very comfortable and my favorite color, but I didn't like the style. I fixed it up very easy and quickly.

Materials needed:

  • Old Sweater
  • 2"x 8" strip of fabric x2
  • 2 buttons


Before picture!

Cut out desired neckline (Scoop, v-neck, ect.) and hem. 
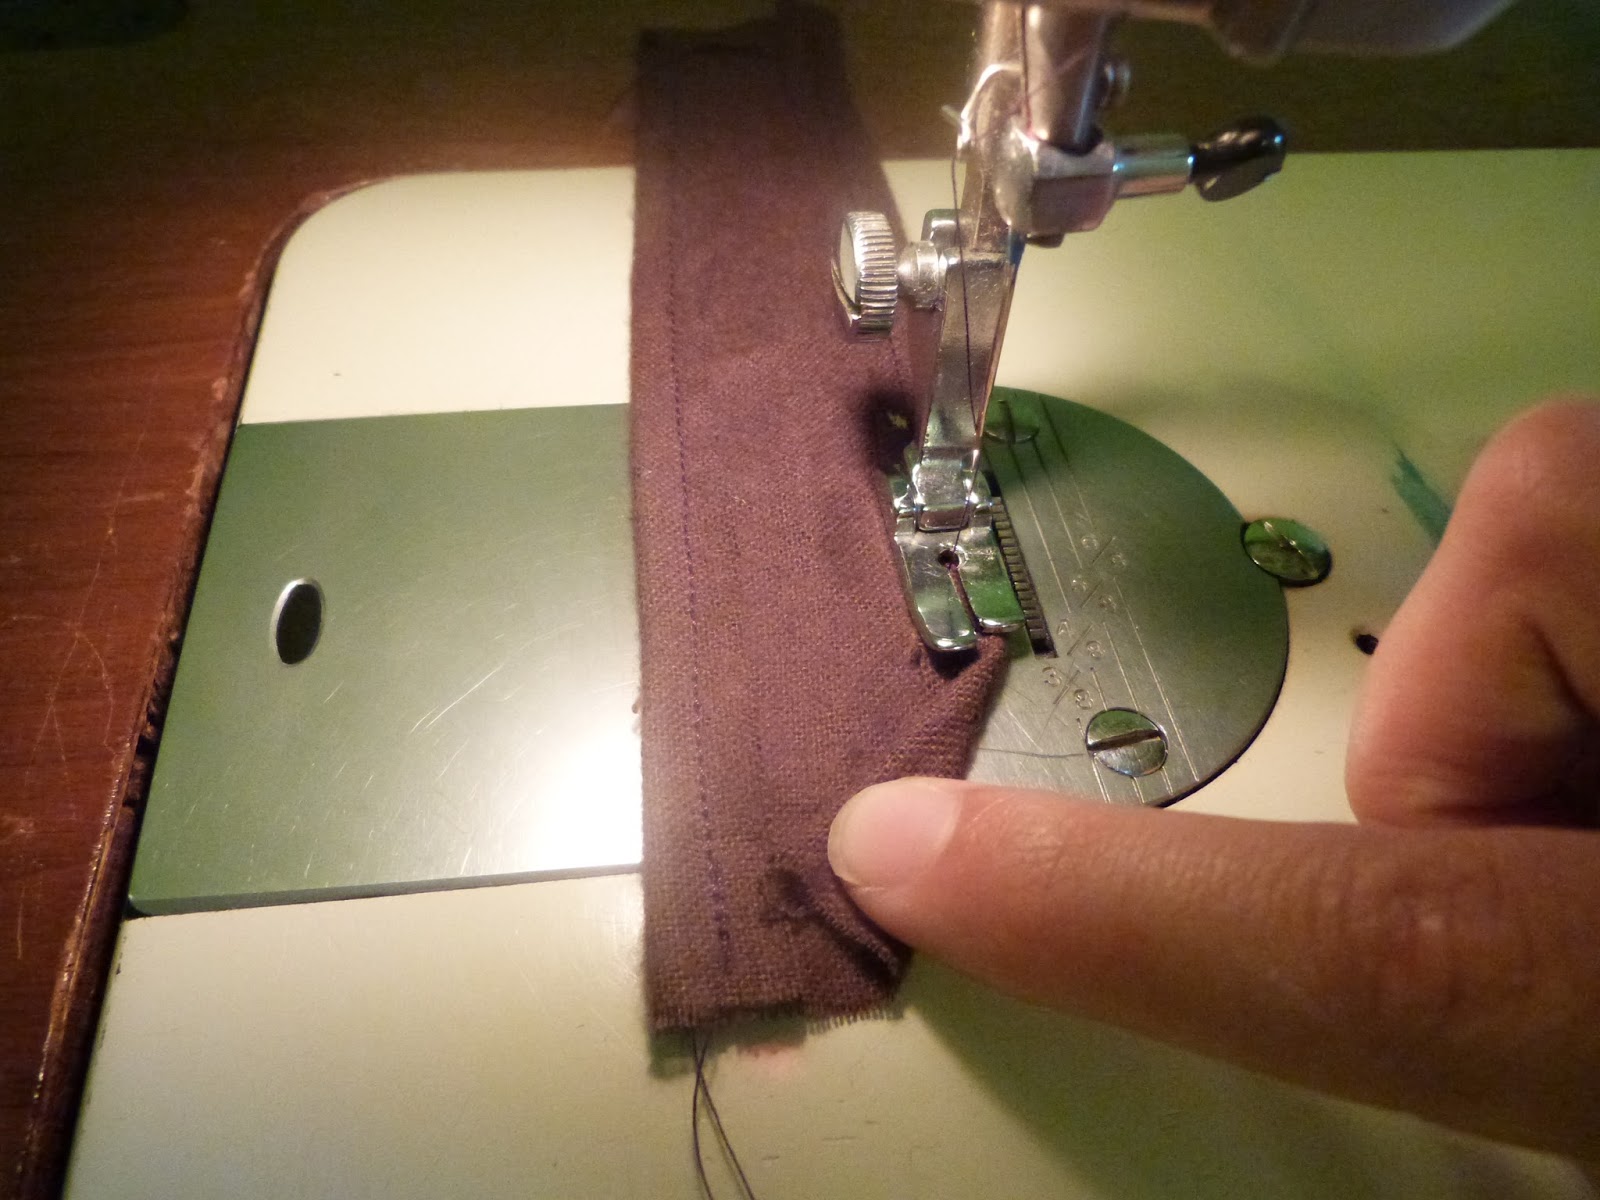
Hem 2 long sides and 1 short side of your strip of fabric. Starting 1 inch from the end, fold corner to the inner edge of the hem on the other side like shown:


Keeping that corner down, fold other corner to the edge so that you make a point on one end of the fabric. Sew down.


Right side and wrong side of the two strips of fabric. Cut a buttonhole near the point of each one.


Fold the cuff of your sweater up twice and insert your strip wrong side up. Position it so you can fold it up and button it right above the cuff. Hand sew in place. Add a button, repeat on other sleeve, and you're done!


Hasta la vista! 


Tuesday, September 8, 2015

Old Sweater Refashion

I can't wait for fall. Sweaters and hot cocoa, crisp mornings, beautiful colors. Unfortunately, I still have at a whole week to wait! :) However, it's not too soon to start fall clothing shopping, or, refashioning! I have a couple sweaters from last year that will need some help in order to be wearable. I started today with a sweater that is a gorgeous color, but the neckline said, "old". Of course, I forgot to take a before picture!

Materials:
  • Old sweater
  • Your choice of fabric measuring 12" X 40"


Finished product!


Start by cutting a v-neck into the front of the sweater. (Make sure it's ONLY the front. I accidently cut through both layers but managed to save it!) 


Gather the 2 short edges and 1 long edge of your fabric. Hem the other long edge.


Pin your fabric to your sweater right sides facing. Start by matching 1 short edge to the V of the 
v-neck, leaving about 4 inches of sweater from the shoulder as pictured. Make sure the hemmed edge is facing up.


Once it is all pinned, sew!


Bring the short edge that is has not been sewn down to the 4" of sweater left. Sew together, right sides together.


Now, there will be a V where the fabric is not yet connected. Measure 5" from the center of the V and pin, right sides together. Sew and you're done! 


Wednesday, May 20, 2015

Art Project Picture Tutorial!


I've been thinking of doing this project for awhile, and finally felt crafty enough to do it. This is what you'll need:


  • Canvas of any size (I used 8x10) :
  • Paint of your color choice
  • Sponge brush
  • Paint pallet
  • 2 short nails
  • Hammer
  • Craft wire (Somewhat sturdy)
  • Construction paper, color of your choice
  • Black and white sharpies/gel pens
  • Optional: mod podge


Gather whatever color paints you would like. I wanted a deeper, blueish-midnight color scheme. Feel free to do other colors. It would be fun to do a lighter blue background, or other bright and cheery colors. 

I mixed my colors for a deep blue, blue-green, and dark purple. (Pay no attention to the red blob in the middle...it just kinda blupped out of the bottle. :p)

Using a spongebrush, lay the colors onto your canvas. (You cold use paper, but I think the canvas gives it good texture and they aren't that expensive. You can find them at your local craft store.) I meant to take pictures as I went to show you but I got too into it and forgot. :) Paint them in kind of a camoflauge-like pattern. I then ran my brush over everything to mix all the colors in. 


Using your finger, paint a white (or other color) border around your background. This helps it stand out. If you would like, put a layer of mod-podge over everything to help seal in the color and give it a matte finish.


Twist your craft wire around itself so it looks like the above. You'll need a length as long as your canvas.  Secure to the canvas frame with nails.


Paint 3 clothespins your desired color. 


Cut out three bird shapes out of construcion paper and detail them, giving them an eye, beak, wing and tail. Again, you can use whatever color paper.


Clip the birds to the wire, write a Bible verse or saying if you would like, and you're done! 


Wednesday, May 13, 2015

Ducks!

I got these little Pekin ducklings almost 3 weeks ago. As you can see, they grow very quickly!


This little ducky (The same as the picture above.) injured her leg two days ago. She is half the size of everybody else (I suspect that she may be a different breed.) She fell over and couldn't get up and was trampled. :( She is doing much better already, and has bonded with me quite strongly because she cannot be with the others, at least not yet. We have tickle wars, and she usually wins. ;)

I need help with naming my ducks! So far, I think I have 5 females and 1 male. 

Wednesday, March 25, 2015

Mini hairclip crossbows!

I found some DIY mini hairclip cross bows and revised it to make it even simpler and easier!
What you'll need:
  • A handful of popsicle sticks
  • Hot glue sticks and gun
  • Embroidery floss
  • Hairclip (picture below.)
  • optional sharpie marker.
 
Cut your sticks using the measurements quantities shown.

If you want to, color them with a sharpie marker.

Take a long rail (top), 2 spacers, (bottom) and handle. (right)

Glue the handle to the very edge of the long rail. Glue the spacer flush against the handle. Add the second spacer on top of the first, making sure the top matches up. Glue the spacers below the top of the rail so your ammo will fit.(See below.)


Take the second long rail and glue to the other side.


This is the type of hairclip you will need.

Bend the thin middle piece back until it breaks cleanly. It should break easily.(See my black fingertips from coloring? :) )
 
Take one bow support (one of the two shortest pieces) and mark the middle. Glue the two hairclips with the middle broken out onto the spacer, matching the ends with the middle of the bow support.

Sandwich the hairclips with the second bow support.

Clue the bow part you just made onto the end of the ret of the crossbow.

Carefully cut a small nick at the back of the bow so the drawstring will stay.

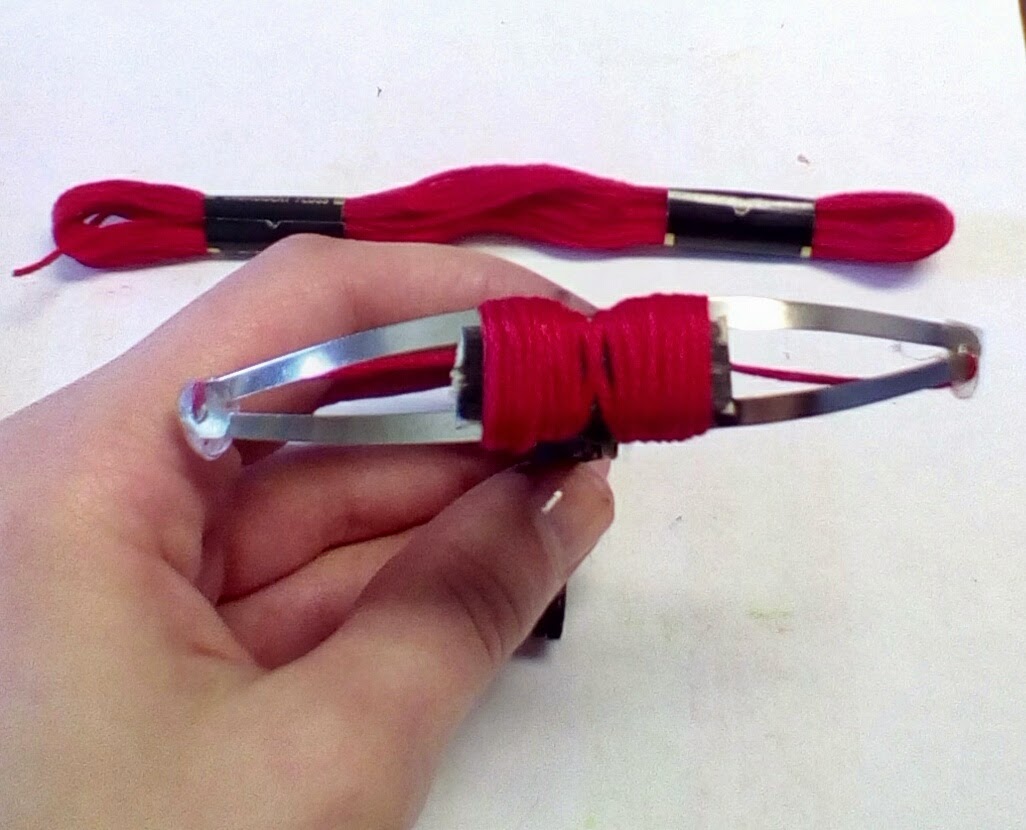
Take your choice color of embroidery floss and wrap it around the bow part. This really adds stability.

Tie your drawstring across the bow. There should be a hole on the end of the clips. Wrap the handle of the crossbow with floss for easier grip and a cool look, and you are done!

 
Build a whole army of crossbows! Please use these responsibly, and do not shoot at people's faces or at animals. I found qtips work well for non-injuring ammo!
 

Thursday, March 5, 2015